Journal
How to Mordant Wool for Natural Dyeing
Mordanting is the single most important step in natural dyeing. Get this right and your colours will last. Skip it and they won’t.
A mordant works by forming a chemical bond with your fibres and with the plant pigment. Without that bond, there’s nothing to hold the dye in place. Sunlight, washing, time will all cause the colour to drift off. With a good mordant, you get results that are lightfast and washfast.
This is how I do it.
What You’ll Need
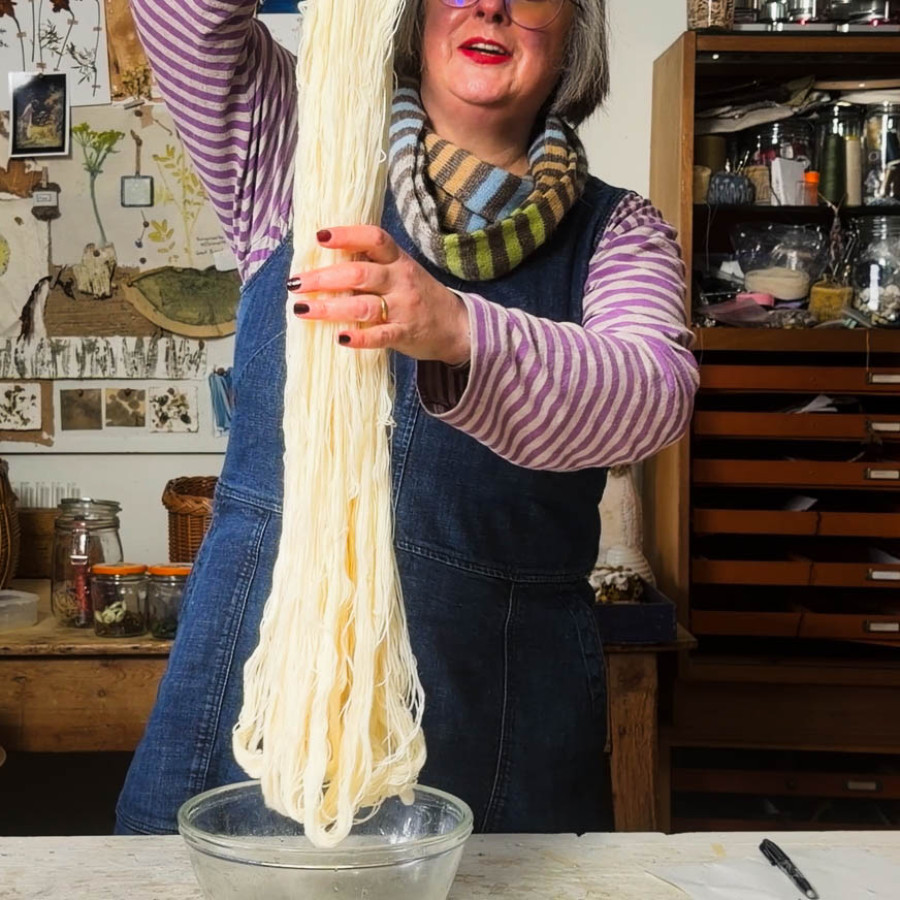
- Wool (any weight; I’m using 4-ply sock wool here, 10 mini skeins, 200g total)
- Aluminium potassium sulphate (alum), 8% of the weight of your wool
- Kitchen scales
- A small pan for dissolving the mordant
- A bowl large enough to hold your wool
- A way to tie your skeins together (I use reusable cable ties, but a piece of cotton thread works fine)
A Note on Alum
People sometimes ask whether alum is safe, or say they want to avoid chemicals entirely. It’s worth saying clearly: everything in this process is chemicals. The wool, the water, the plant dye. Alum isn’t dangerous by comparison with some of the alternatives.
Aluminium potassium sulphate has been used as a mordant for centuries. You’ve almost certainly already consumed it; it’s used in pickling and baking, and it’s common in natural deodorants. Compare that to rhubarb leaves, which are sometimes suggested as an alternative and which give off oxalic acid vapour. I’ve used them experimentally, but I wouldn’t use a lot of them.
In Scotland and elsewhere in the UK, club moss was traditionally used because it accumulates aluminium from the soil. It’s now endangered. Please don’t use it. It isn’t more natural or more eco; it’s just harmful to do.
Alum is reliable, well understood, and genuinely safe at the quantities needed for mordanting.
Step One: Weigh Your Wool
Before you do anything else, weigh your wool and write that number down. You need it to calculate how much mordant to use. If you’re using mini skeins, count them; each one is usually 20g, so you can do the maths that way.
I had 200g of wool for this batch. My mordant quantity is 8% of that: 16g of alum.
You’ll sometimes see recipes calling for 15% or more. You don’t need it. 8% is plenty, and using less is better practice all round.
Step Two: Soak the Wool Overnight
Tie your skeins loosely, loose enough for water to get through but tidy enough that they won’t tangle. Put them in a bowl of warm water (roughly hot-tap temperature), pressing them down gently until they’re fully submerged.
Leave them for at least 10 hours, ideally overnight.
Warm water helps the wool absorb moisture much faster than cold. By the next morning, the skeins will look noticeably plumper. That’s what you want; the goal is wool that acts like a sponge, ready to pull the mordant solution right through.
Step Three: Dissolve the Mordant
Weigh out your alum into a small pan. Add a little water and heat gently, stirring until every grain has dissolved. It’s similar to dissolving sugar for a syrup; you’re not boiling it, just warming until it clears.
I do this in a small pan rather than a large one deliberately. There’s no point wasting water or energy heating a big volume when a small one will do.
A separate little camping stove is worth having for natural dyeing generally. It keeps things away from your food preparation area (you should keep all your dye equipment completely separate), and in decent weather you can work outside, which is better. You want good ventilation when you’re heating mordants and dye plants.
Step Four: Add the Wool to the Mordant
Pour your dissolved alum solution into the soaking bowl. Give it a stir so the mordant is evenly distributed through the water.
Now take your skeins and gently squeeze out the water they’ve been soaking in. Not wringing, just a gentle squeeze, enough to create a little space inside the fibres. Lower the skeins into the mordant solution while still squeezing, then release. The idea is that they draw the mordant solution in as they relax.
Top up with water if needed to cover everything, and leave again for at least 10 hours, ideally another overnight.
Be gentle with wet wool throughout this process. It felts easily when agitated.
Step Five: Take the Wool Out
After its time in the mordant, lift the wool out gently (the ties or cable tie help here) and give it a gentle squeeze.
At this point you have two options.
If you’re going straight to dyeing: rinse the wool before you put it in the dye bath. There will be mordant particles that aren’t yet bonded to the fibre, and if you skip the rinse they’ll float around in your dye and give uneven results. A simple rinse sorts this.
If you’re storing the mordanted wool: hang each skein separately to dry completely, then store in a labelled box. Write down the fibre type, the date, and what mordant you used. You will not remember this later. I promise.
When you come back to use stored mordanted wool, rehydrating it before dyeing acts as your rinse anyway.
The Mordant Bath Afterwards
You may be able to reuse the mordant bath by topping it up with fresh alum. Whether it’s worth doing depends on how much mordant you think has transferred into the wool. At 8%, most of it should have been taken up by the fibre, so there may not be a great deal left. Use your judgement.
That’s genuinely the whole process. It looks more complicated than it is because of the chemical name and the waiting. But it’s mostly just: weigh, soak, dissolve, steep, dry. Each stage takes about five minutes of actual work.
I’ve written a step-by-step download that goes alongside this
You may also enjoy …
Eco printing on paper with Elisabeth Viguie Culshaw
eco print course in Scotland eco printing with garden plants
3 years ago
Mindful sewing project - Patchwork Christmas stocking pattern
Patchwork Christmas stocking pattern
3 years ago
Making an embroidered pincushion.
handmade pincushion from plant dyed velvet and freehand machine embroidery
2 years ago
Crewel work fragment from Jacobean Bed hangings: What You Can Still See After 400 Years
Close look at a crewelwork bed curtain from 1610-1620: which colours survived 400 years, how designs were transferred, and why these mattered.
5 months ago
