Journal
Making daisy balm
Before we could buy arnica for our medicine cabinets, we used a different plant for treating bruises. It was the humble daisy, Bellis perennis.
This simple bruise balm is made from a handful of flowers, oil and either soy or beeswax.
This should last up to a year in a cool dark place – apply externally to bruises in exactly the same way as you would an arnica cream.
You can make similar balms – each with slightly different qualities – from comfrey, yarrow, and lemon balm. You may want to try making my soothing calendula balm for irritated skin and bites, or this plantain and nettle balm for stings and grazes.
You need:
- Small jar
- Fresh daisies – just the flowers and a small bit of stem.
- Oil – sweet almond, rapeseed, olive oil all work well.
- Piece of muslin or t-shirt fabric to cover the top of jar.
- Pan/heat proof bowl or double boiler
- Beeswax or soy wax (10% weight of oil)
- Small jars with lids (the type of jars you get for individual jam portions in hotels work well, or reuse a cosmetic tub)
Step One
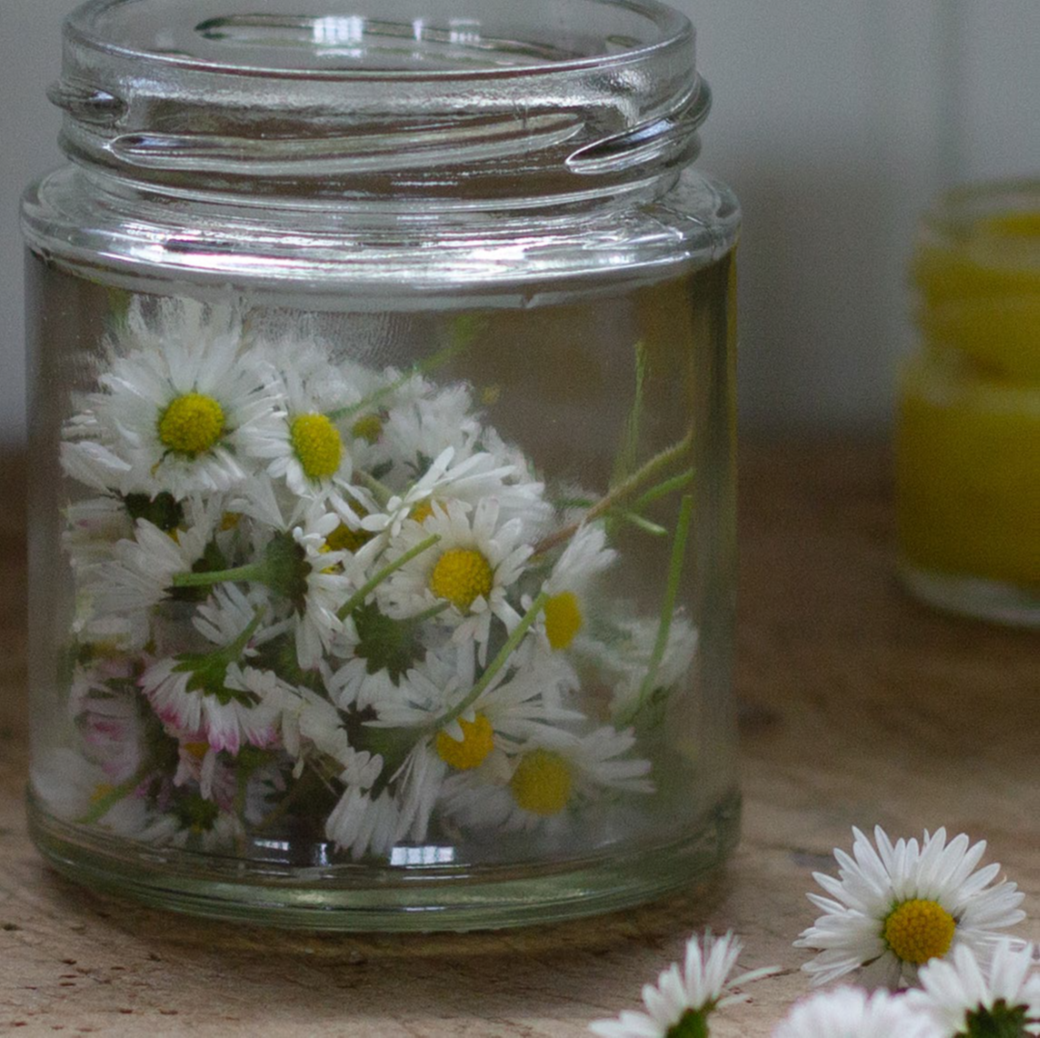
Collect your daisies – do not wash them as you want as little moisture as possible when making the balm. Some people dry their daisies in a dehydrator before soaking in the oil. I don’t bother with this because I am making on such a small scale, but if you want to make a lot then this might be worth doing as it cuts down on the amount you need to check on your jar.
Step Two
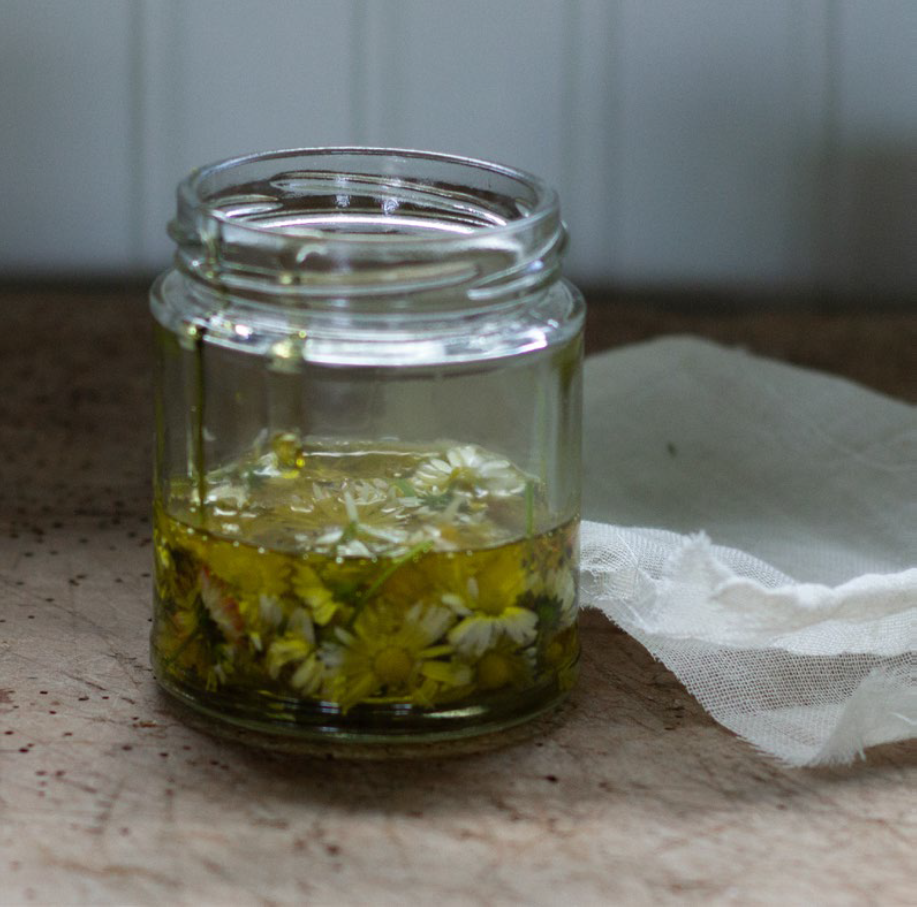
Squash the daisies slightly and put them into your jar – about halfway up – and cover with oil. Shake gently to remove air pockets. It is important that no daisies protrude out of the oil as they may go mouldy (this is less likely to happen if you dehydrate your daisies)
Step Three
Put the muslin over the top of the jar, leave on a sunny windowsill and inspect it every day – swirling the daisies well in the oil and making sure that they are under the oil. The muslin allows any moisture that rises to the surface to escape. If you have a jar lid you can swap that for the muslin every few days and give it a really good shake, taking it off again and putting the muslin on when you have finished.
Step Four
After 2 weeks strain the oil through the muslin into a bowl and weigh it. Measure out 10% of the weight of the oil in wax.
Step Five
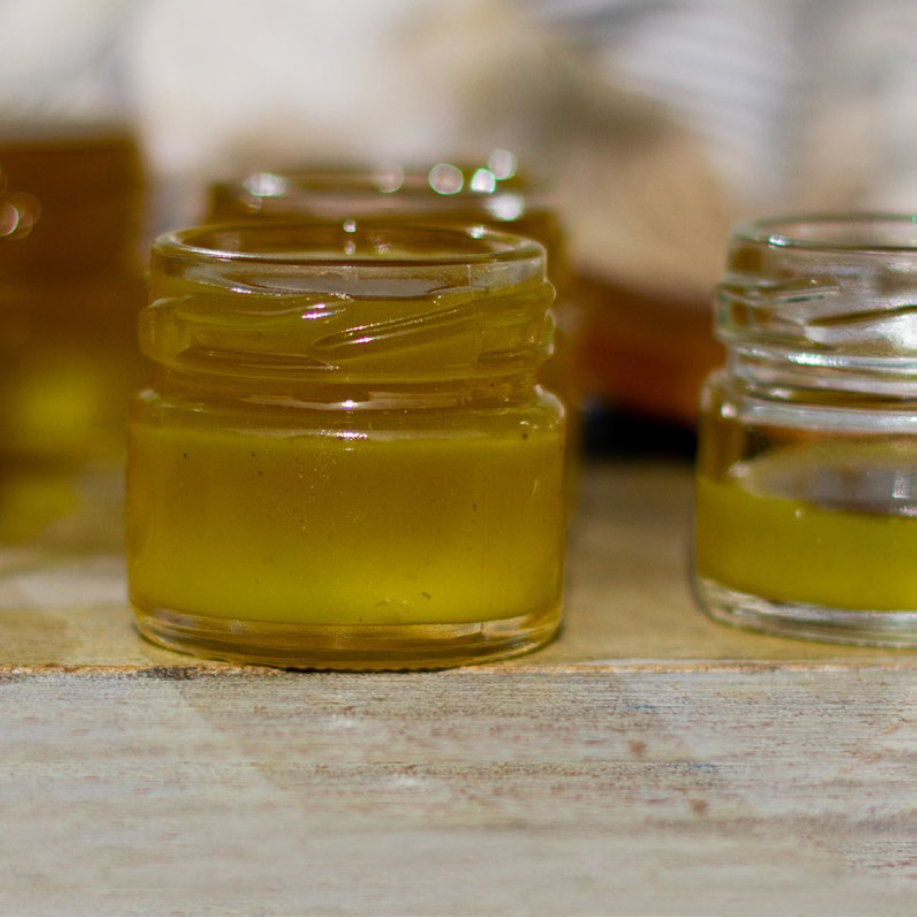
You now want to gently heat the oil, adding the wax and stirring until it melts. You can do this in a double boiler – or in a bowl over simmering water. Or you can very carefully use a small non-stick pan and watch it like a hawk.
Step Six
Pour the mixture into your small jars and leave to set gradually.
You may also enjoy …
Simple beeswax wraps
make your own beeswax wraps instructions
6 years ago
Visible mending with Flora Collingwood-Norris
visible mending with Flora Collingwood Norris, decorative Manding
5 years ago
Making calendula tea
making a calendula tea
5 years ago
Make your own felt Christmas tree
how to make a felt vintage Christmas tree decoration
6 years ago
