Journal
Making an honesty garland
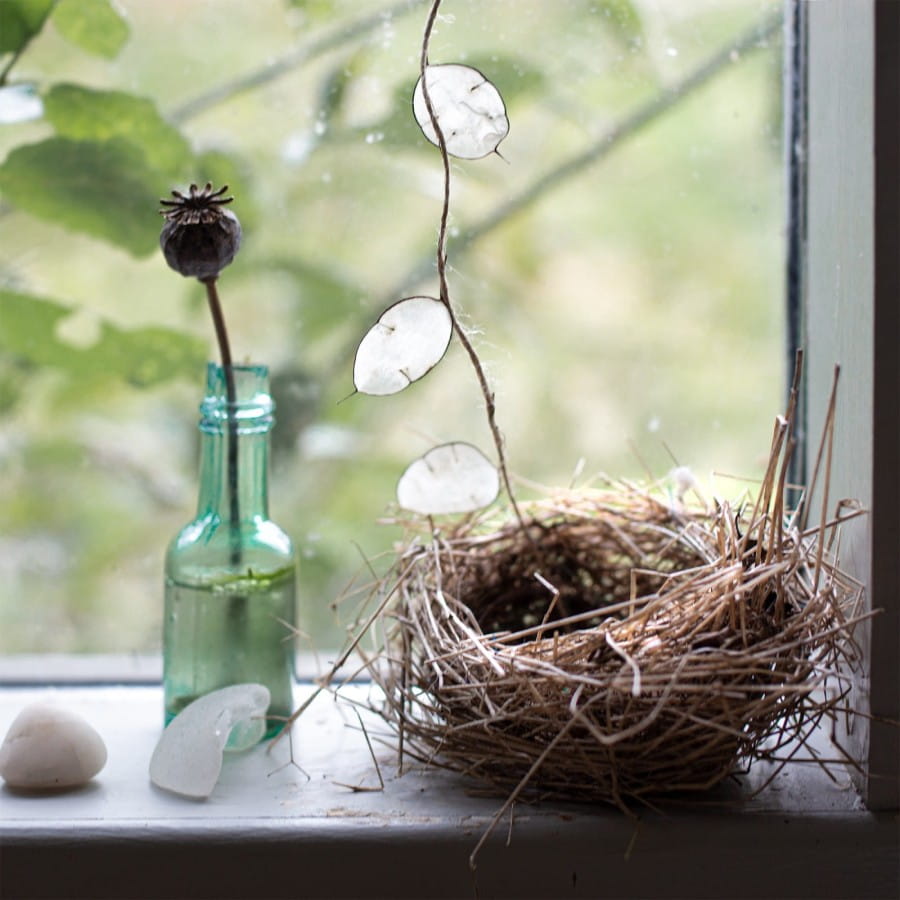
This garland is inspired by one which the writer Francine Raymond made for Country Living magazine in 1990s - I think hers was a length of jute string decorated with hanging lanterns and poppy seed cases as well as honesty and the stems were held within the twist of the string. It has lived in my memory so the details may have become blurred.
I love the bringing of natural things in to decorate my home, especially over late Autumn and into winter and I particularly love the way that honesty seed cases shine in the low light of November and December.
Here I wanted to make something a little sturdier than Francine's garland. One which can be carefully stored from year to year, so I sewed the seed cases onto the string.
It would look amazing on a Christmas tree if you have a few hours to while away and a heap of dried honesty, but it also looks very pretty as a short length hanging in a window - it is so light that a drawing pin is enough to keep it up.

You need
- String, yarn or embroidery thread - you want something with a twist to it.
- Needle
- Thread the same colour as the string
- Dried honesty seed pods
Step 1
Measure your string to the length required and tie a loop at one end. You can tie the end to a door handle if you prefer but I tend to sit at the table and trap the loop under something heavy. like a book or pan, so that I can pull the string and get some tension to make the sewing easier.
Step 2
Cut and peel your honesty seed cases, keeping a short amount of stem on each - 1-2 cm is fine.

Step 3
Cut a shortish length of thread, knot the end and, beginning at the end with the loop, sew in whip stitches along the string - the thread should follow the twist of the string. After about 10 cm take an honesty seed pod and hold it so that the stem is alongside the string, just below where you are sewing.
Continue exactly the same stitch, but catch in the stem with the next 3 or 4 stitches.
Carry on in this way, spacing out the seed pods as you want them.
When you come to the end of a bit of thread make a few stitches in the same place to secure and start the next piece with a knot.

You may also enjoy …
Making a jam jar 'terrarium' of crocus
Make your own terrarium of crocus
6 years ago
Knitted Sports Knickers from 1914
A 1915 knitting pattern for sports knickers traces back to Flora Klickmann’s Girl’s Own Paper, May 1914. What it tells us about women’s lives before the First World War.
3 weeks ago
Dyeing socks with acorns
6 years ago
Dye Plants; Indigo: Studio Club Private Blog
2 years ago
