Journal
Getting started with overdyeing
Once you have the basics of dyeing sorted you can begin to experiment with overdyeing. This is where you simply re dye your yarn with another colour to create a third colour – a little like mixing paints. As the original colour shines through the second one you get beautiful depth which can’t be achieved by single dyeing alone.
To create colours which go together you can use different overdyes on wool that has all been dyed with the same base colour. You can also use the two dyes to create patterns on the actual yarn with a form of tie-die.
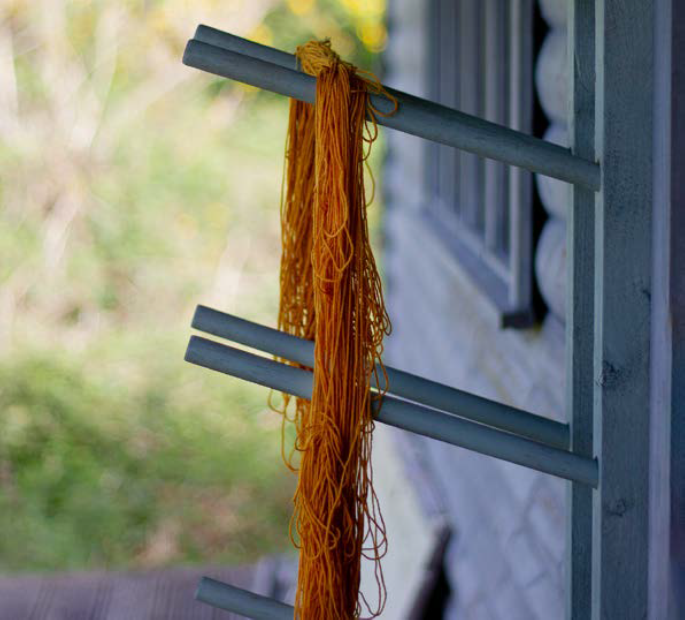
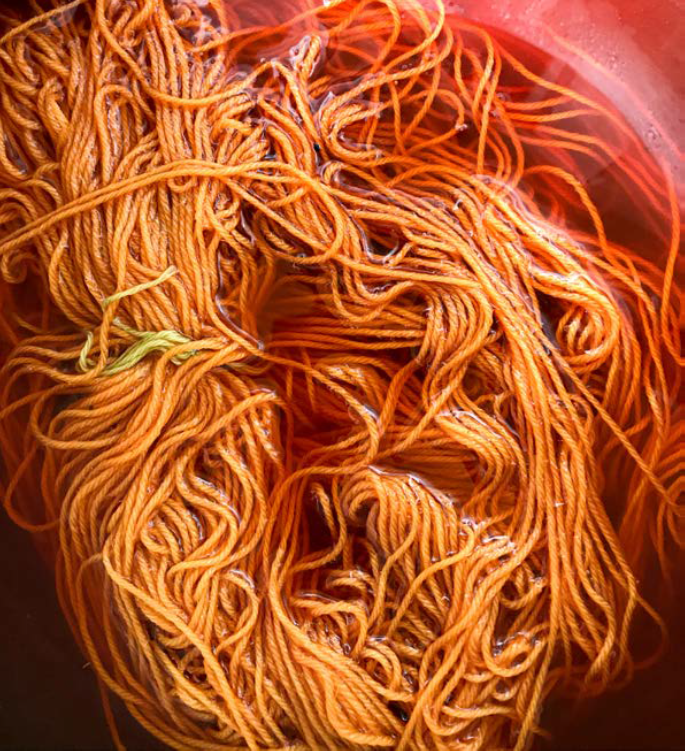
The photos show mordanted wool first dyed with broom flowers, which gave a mid yellow colour, it was then overdyed with onions to create a deep burnt orange.
Overdyeing is also a great way to rescue colours that are a little underwhelming – knowing that you can simply dye over insipid colours helps temper disappointment when things don’t turn out as you expect.
I would love to know how you get on with dyeing your wool. Please tag me @snapdragon.life on Instagram or use the hashtag #snapdragonlife.
You need:
- Wool yarn, pre mordanted with alum. Mini skeins make this easier but you can use a larger skein and split it is you prefer.
- Dye materials – a light coloured initial dye and a darker second dye.
- Pan of water.
- Plastic tub.
1) Dye pre mordanted yarn using the nettle instructions.
Pour the first dye into a plastic tub in case you want to use it again. Wash and dry the yarn. If using a single hank then wind the amount you want to keep as the base colour into a ball.
Loosely tie the rest of the hank with three or four bits of yarn.
2) At this point you can make a tie die striped effect by tightly binding sections of your hank so that the second dye cannot penetrate and the tied sections remain a paler colour.
3) Wet the hank of yarn again and then dye in the second, darker dye bath, again following the nettle instructions.
4) Rinse briefly, leave to dry and unwrap bindings if you have made them. Gently wash and dry before winding into a ball.
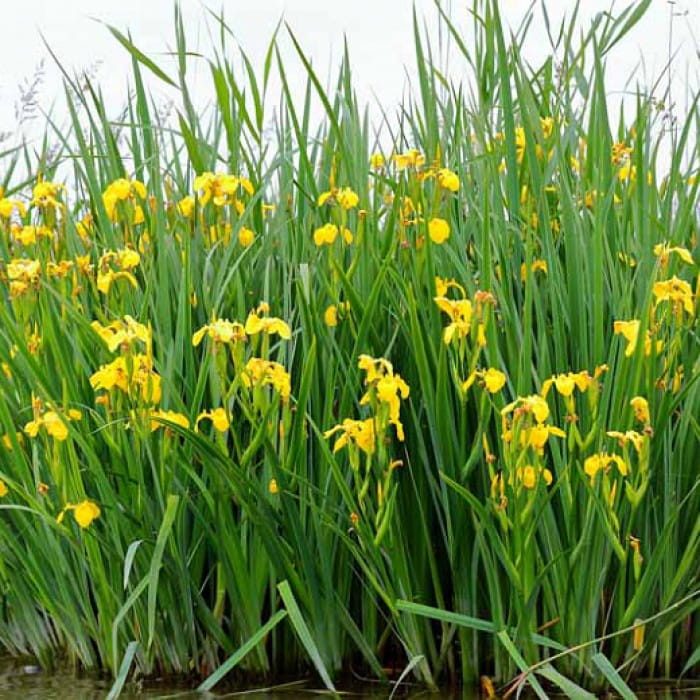
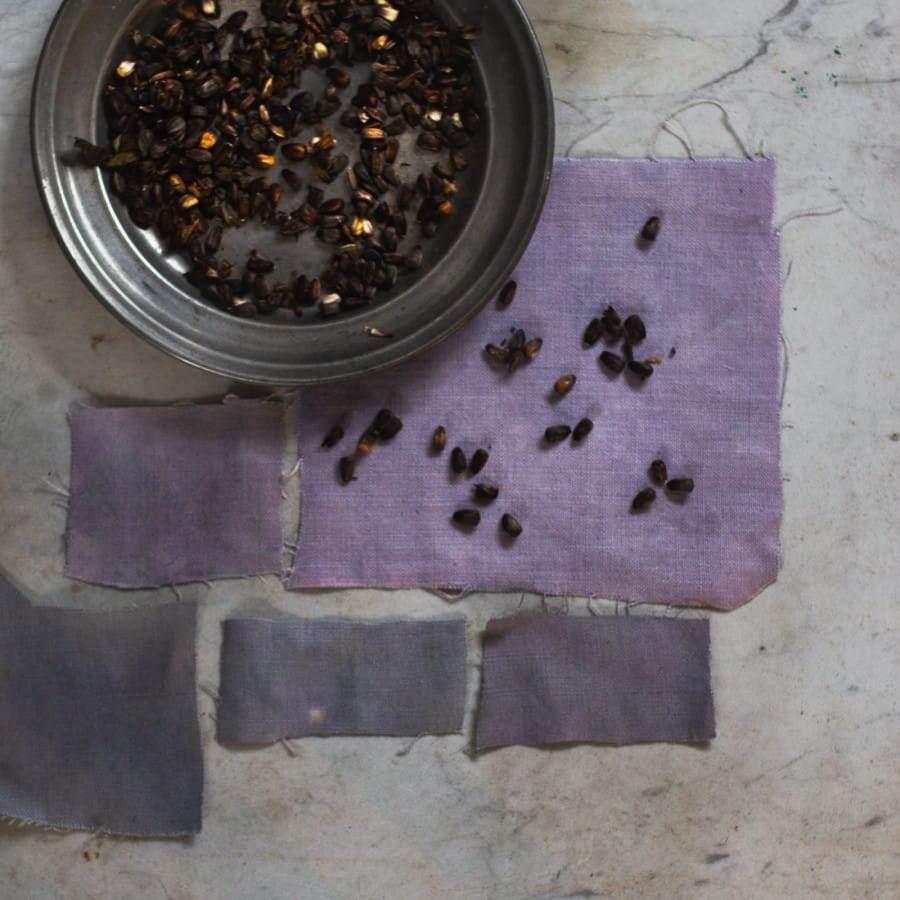
Natural dyeing: Flag Iris root on linen
There are some dye stuffs that carry a little bit of legend with them, an inbuilt reminder of respect. Where we all happily pile on in collecting onion skins and picking nettles, we rightly hesitate when it involves digging up things.
Particularly native plants - we remember the Countryside Code and step aside - but always left with a little bit of wondering.
A long time ago, back when I was a costume historian, I read about how the roots of yellow flag iris (Iris pseudacorus) could give a black dye - I think initially it was in a history of tartans and tweeds and I've subsequently seen it alluded to in other Scottish dye books - and I have always had it on my list as something to try.
Indeed I'd talked about it to my friend Kat at Gartur Stitch Farm whose old vegetable beds were infested with flag iris, but somehow those conversations were always over a cup of coffee in her warm Studio and never quite made it to slipping around in the mud digging up roots.
Then, last month I stayed for a few nights at the garden designer Arne Maynard's house Allt y Bela where the gardeners were busy digging out flag iris from the stream that borders the drive. The iris clumps had outgrown their space and needed to go. I spotted a chance and struck up conversation, a conversation that was rewarded with a great clump to take home in a compost bag and experiment with.

Step 1
I cut off the leaves and the fine wiggly roots the the top of the crown and then rinsed and chopped the thicker roots - making them into chunks about an inch cubed.
Step 2
I put the roots into a cheesecloth bag and then soaked the whole thing in a pan of water for a week. I was busy with other things so happy to have them just sitting on the hearth.
Step 3
I very gently simmered them for a couple of hours, and then heated the water gently and allowed it to cool over the next few days. My hope was to get the dye chemicals out of the root as gently as possible.

Tour of the Studio and Meadow
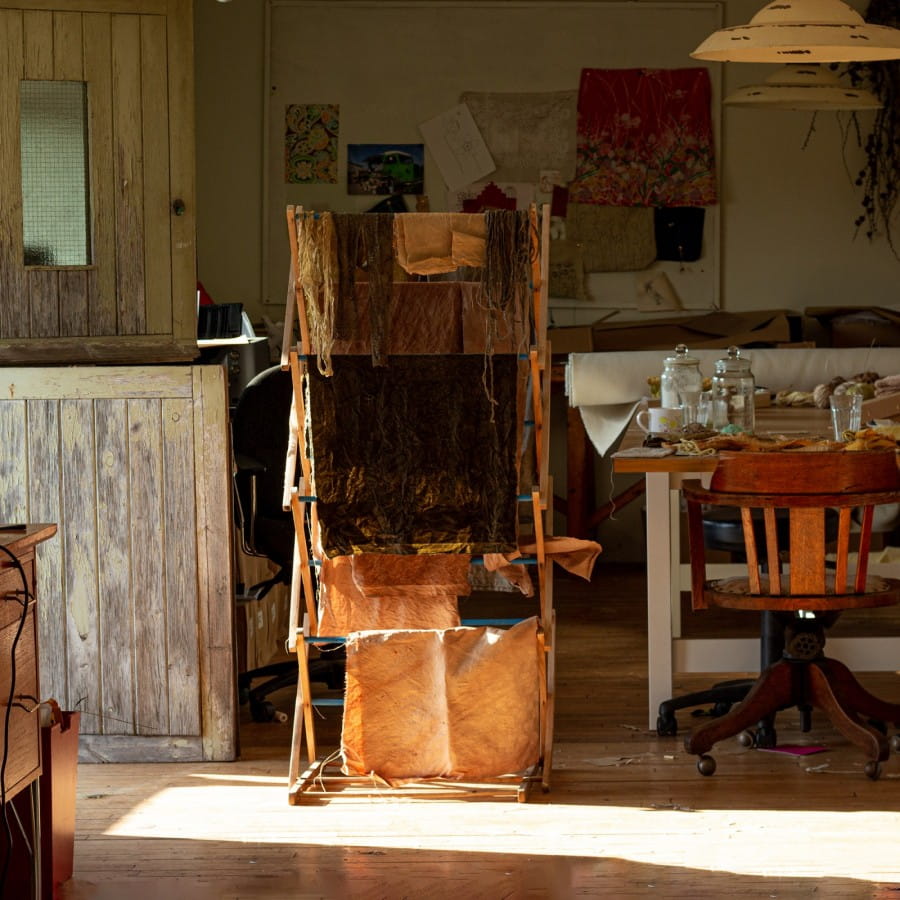
About ten or twelve years ago, when the airstream became too small for the business, I had a wooden workshop built between the flower field and the slope down into the wood.
Out of sight of the road, a secret business almost and we grew to the point where there were six staff. On our busiest day we sent out 800 orders, in all we must have done 150,000 plus wholesale and corporate. There were a lot of mail sacks wheeled up the path.
Over the past year I have reclaimed the space - gradually moving out stock and unneeded supplies, giving them away to charities and people who could use them for good things.
Turning it from workshop into artist's studio. A space of inspiration and making, for writing and sewing, drawing and filming, teaching and creating beauty from flowers and plants.
Surrounding it all is the Studio meadow - a perennial meadow that is lightly gardened, something that began as a desperate experiment and has evolved into the most beautiful part of the garden.
This is a short video of both studio and meadow - it also features Dixie who couldn't work out why it was taking so long to lock up and go up to the house.
Making a Midsummer Wreath
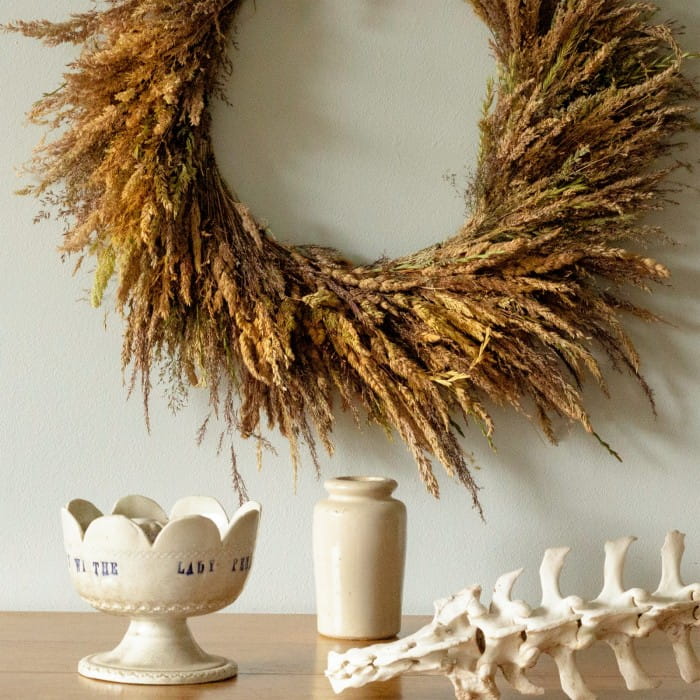
Celebrate the midsummer and all the different varieties of grass by making a classic grass wreath. Unlike flower rings, wreaths made from grass don't droop, they simply dry out and will last from year to year if treated well.
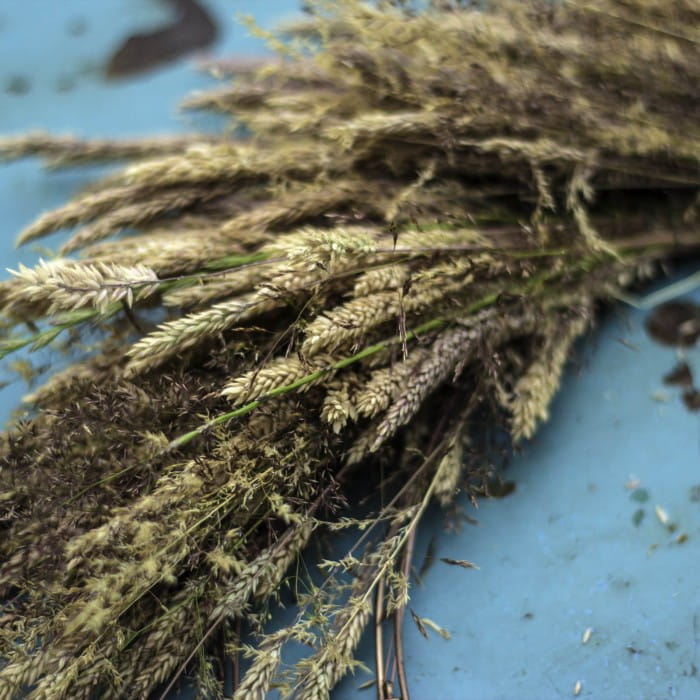
They are a wonderful way to highlight the tapestry of all the different shades and shapes of grass, particularly the purple, grey and pale green tones
You need
- 2 copper wreath frames - I find that using two together makes the finished wreath much stronger without adding much weight. Use whatever size frame you like - remember that the larger the frame, the more grass you will need.
- Fine florist's wire - the thinnest weight of 14-16" stub wire works best.
- Dry grass - preferably a variety of different types of grass, though a single variety like wheat or barley will work well too. You will need a lot of stems - I used about 40 bunches each with 20 stems.
Step 1
Join the two copper frames together by wrapping florist's wire round them in 4 places - try to get the copper joining pieces evenly spaced round the ring as this will make the frame stronger.

Step 2
Arrange your grass into bunches of about 20 stems and wrap each bunch twice with florist wire. You want the bunch in the middle of the wire with the free ends out either side. Trim the stems to about 2 cm below the wire.

Step 3
Use the free ends of wire to attach the bunches to the copper frame. Overlap the bunches to cover the stem of the previous bunch as you go.
Step 4
Keep going round the frame, overlapping the bunches and keeping a nice curve. Eventually you will come back to the beginning and need to carefully tuck the last bunches under the first ones. Take your time and just move the first bunches slightly to one side so that you can slot the last ones in, then carefully move them back.
The aim is to make the join invisible.

Step 5
Hang your wreath on a wall - this is a really light wreath so easy to hang. I made a small hoop out of florist wire and attached it to the top of the copper frame at the back of the wreath - then I used a drawing pin to pin it to the wall.
You can also simply hang it from a hook.

