Journal
Growing Dye Plants in Scotland: What Actually Works in my Heavy, Wet Soil
I grow my dye plants in rural Stirlingshire, about ten minutes from Loch Lomond. The soil is heavy, acidic and wet, particularly over winter. It’s almost exactly the wrong conditions for the traditional European dye plants. Weld wants light, alkaline soil. Madder and indigo can’t handle our winters. I can grow woad, but you need a lot of it to get a decent result. So rather than fighting my garden, I stopped trying. Instead, I started looking for plants that are happy here, things that thrive in heavy, wet ground and a Scottish climate. The colours I get aren’t the same as the ones from a traditional dye garden, and that’s become the point. They’re connected to this place. To this soil. That’s what excites me about them.
Here are six plants that grow well for me, the colours they give, and what you need to know if you want to try them yourself.
------------------------------------
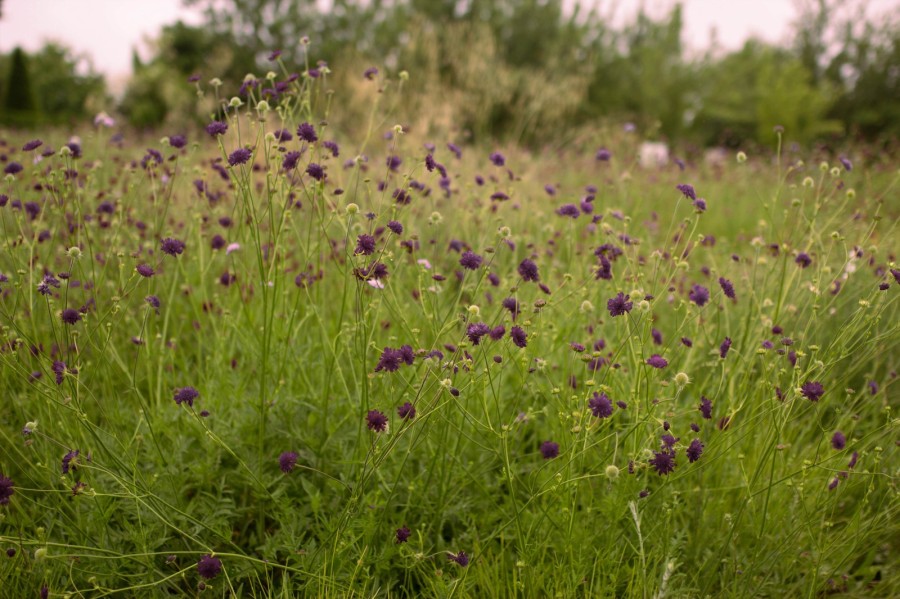
Scabious, Black Knight (Scabiosa atropurpurea) — Hardy annual:
Colour: Teal. pH sensitive, so can be shifted from cerise through to teal depending on acidity. The teal is stable. The pinks and cerises are not, and will shift back over time.
Lightfastness: Moderate to good. Better than its reputation suggests. Expect colours to hold well over years on items that aren’t being washed hard or left in direct sun.
Sow in late March or early April. Sow shallowly, as the seeds need light to germinate. By August the plants will be covered in small, very dark burgundy flowers, and they’ll keep producing them right through until the first frost, as long as you keep picking.
That last bit is important. Don’t plant more than you can harvest. These plants produce lots of flowers but if you let them go to seed, they stop. You will get more flowers from two or three well-picked plants than from a whole row where you’ve given up halfway through August. Pick regularly, and they just keep going.
The flowers dry well. Pick them and line them up on a windowsill. You don’t need to dye with them straight away. You can also use the petals for eco-printing and bundle dyeing, where they give small, dark navy-blue dots. The leaves are worth trying too, as they contain different compounds that actually print with better lightfastness than the flowers.
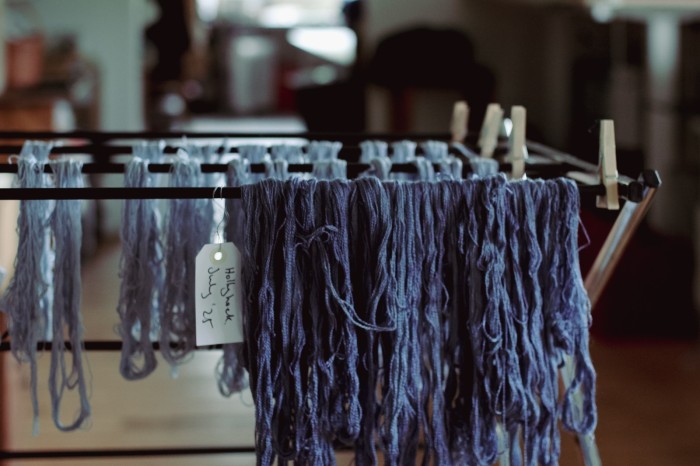
Studio Exclusive: Dyeing with Hollyhock, true blues
We’re always told that blue is the most difficult colour to achieve naturally. Indigo and woad are the traditional sources, but they come with their own challenges - you need masses of plant material, the fermentation process takes weeks, and there’s often some fairly unpleasant chemistry involved. For anyone working on a smaller scale, it can feel like blue is simply out of reach.
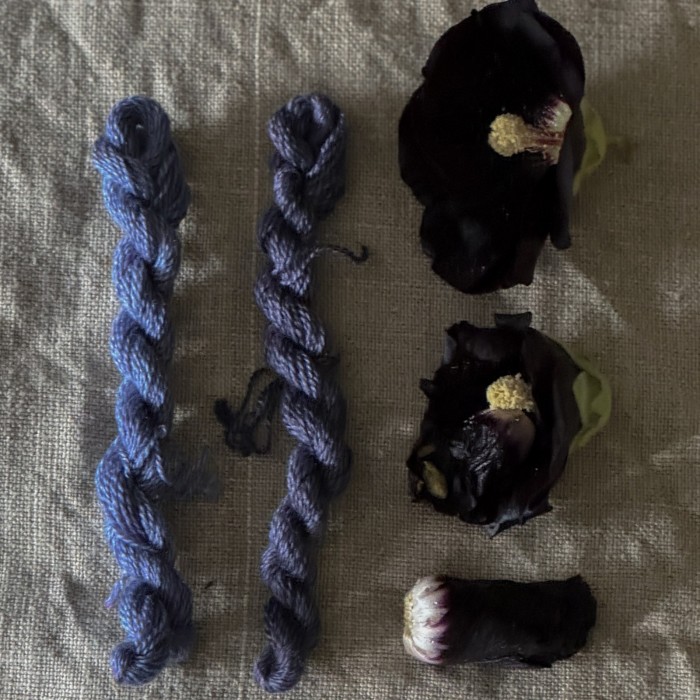
Which is why I was so surprised when I discovered black hollyhocks.
A small handful of Alcea nigra petals will give you genuine blues - not the murky greenish tones you might expect from most flowers, but clear, true blues ranging from pale denim to deep navy. It seems almost too straightforward to work, which is probably why it’s not talked about more.
Black hollyhocks might sound exotic, but they’re more ordinary than you’d think. Mine came from one of those plant racks outside a supermarket - three for a tenner. Nothing special, no hunting through specialist nurseries or ordering heritage varieties online. Just regular garden centre plants that happened to be the right ones. If you see them, snap them up.
And you only need three plants to get started. Each one will give you flowers throughout the summer, and each flower holds enough colour for small-scale dyeing projects. A few petals will tint a skein of wool, a handful will give you a deeper shade.
The process itself is refreshingly simple. No fermentation vats, no complex chemistry, no waiting weeks for results. Just flowers, heat, and fabric.
If you want to grow your own, it’s even easier than buying them - I’ll share the growing details below. But there’s something satisfying about discovering that one of natural dyeing’s most coveted colours can come from something so wonderfully unremarkable.
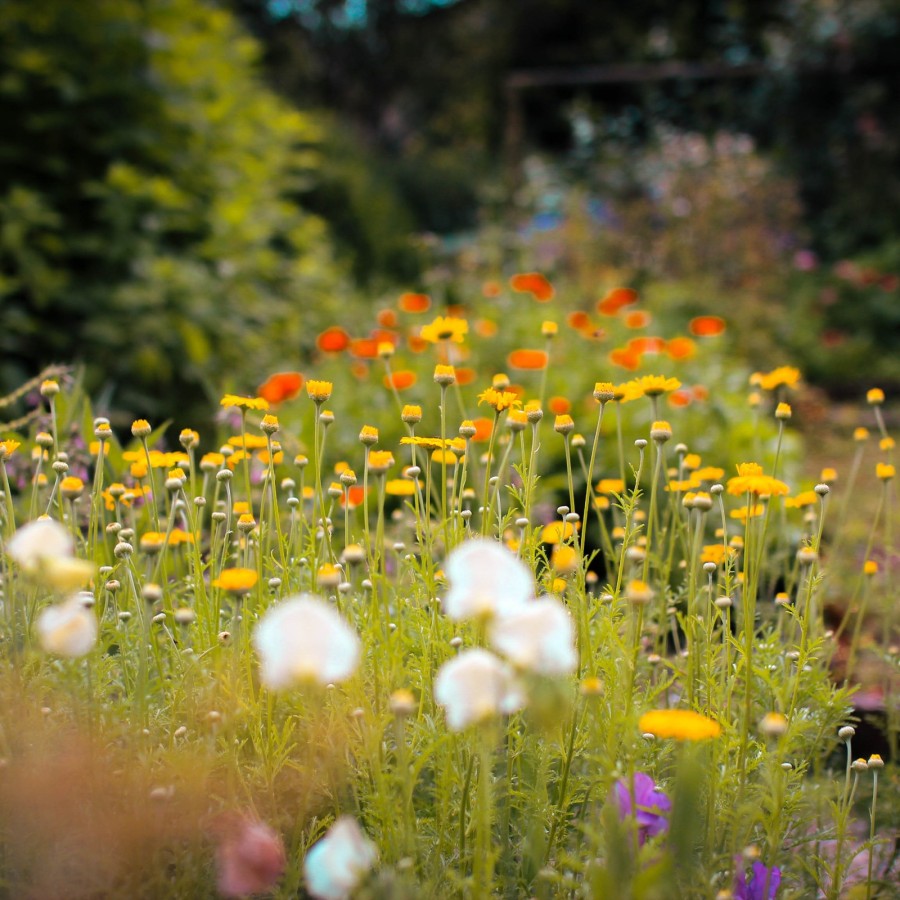
When the garden tips into chaos
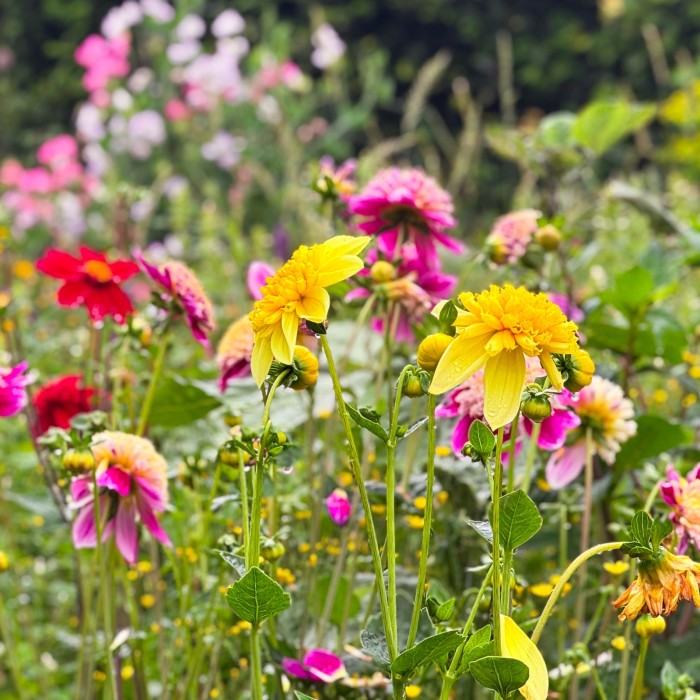
The garden has fallen over.
Not literally. Not disastrously. But it has tipped into that midsummer moment when everything gives up on structure and starts to sprawl.
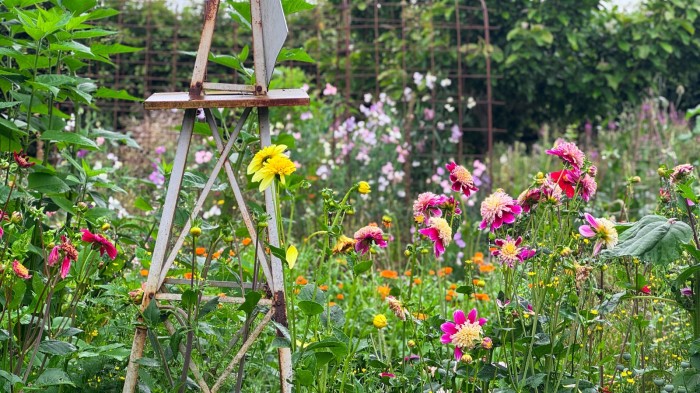
It is the most wonderful time. The most dishevelled, abundant, forgiving time. But this year, it has come early.
And I will admit, I caught myself looking around with that inner critic switched on. Seeing mildew on the calendula, floppy hollyhocks blocking paths, gone-over poppies gone to seed in all the wrong places. The beds are full of weeds. The buttercups have made their way into the tunnel again, and the sticky willow wraps around the cosmos like a joke.
It would be easy to go into battle mode. To see the mess. To try to fix it all. To feel behind.
But I am choosing a different way this year.
How to grow sweet peas from seed
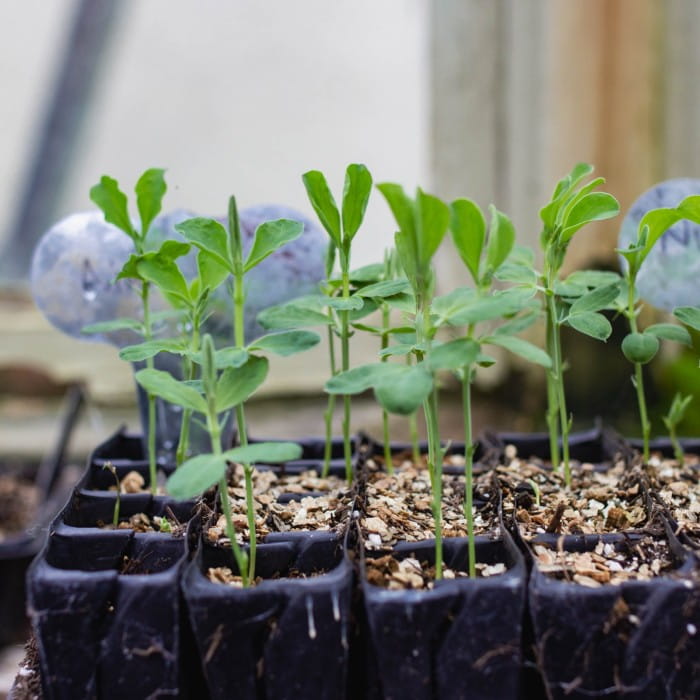
Sweet peas have always been a plant that grows well here - they love the cool damp summers, the long light days of June - and reward me with bucket upon bucket of blooms. When I had a flower farm and grew organic cut flowers commercially I used to grow thousands of stems for weddings.
If you are growing them yourself, this is the perfect time to sow sweet peas - they have time to grow great healthy roots but don't hang around getting root bound. They are pretty hardy - and though you shouldn't plant them out into the garden until the frosts are pretty much finished, they don't need a heated greenhouse. If you have somewhere sheltered to keep them, tucked by a wall, in a cold frame you can germinate them on the house and then move them outside.
I love pottering around in the greenhouse it this time, sowing sweet pea seeds and looking forward to a Summer full of scented cut flowers. It stops me from sowing other seeds for which it is far too early!
I have recorded a YouTube video showing exactly how I sow sweet peas
My first nature table
My first memories of a nature table are from Primary two, St Margaret’s School for Girls in Newington in Edinburgh. It was the day before an end of year parents’ evening, a sunny June day.
Miss Black, young hapless Miss Black in her first teaching job, wanted to make an impression. She led us across the playing field, a little line of dark green pinafores, to collect twigs and cones and flowers for our classroom nature table.
She led us right across the playing field to where trees fringed a small stream. We each had a jam jar which we dilligently stuffed with greenery.
Then Miss Black spotted an amazing plant, a plant that would surely ensure our nature table stood out from the rest, a towering umbellifer. She went to pick it, she battled back up the slope to us clutching it aloft. Giant hogweed.
By the time we got back to school Miss Black was beginning to blister, we were greeted by shrieks from other staff. The hogweed was ostentatiously bundled into a binbag, Miss Black was bundled away, we got to join Mrs Munro and the infants for story time.
The 2B nature table never got finished - the jars remained unlabelled, the leaves unpressed. Miss Black appeared at school next day her hands bandaged up, her face splotched and burning.
That evening parents mulled over whether she was a suitable influence. They gathered and gasped at the danger we had narrowly escaped.
I remember believing that the plant had eaten her fingers.
Nature tables acquired a dangerous glamour.
